Showing posts with label Papercrafting. Show all posts

Wednesday, April 14, 2010

Baby Scrapbook (22 page book)

Sorry...I know this is a lot of pages, but each one hopefully has some fun ideas! I used smaller pic sizes to fit them all in. Hope you enjoy viewing these pages as much as I enjoyed making them...


For this book, I used my Cricut Expressions, Cuttlebug, computer, sewing machine, ink, and embellishments. I know digital is faster, but I had SO much fun making each page of this book in expectation of the new baby girl! I didn't have it totally done in time for the birth...maybe a few weeks late, but Mom and Dad were preoccupied anyway :) Isabella has been such a beautiful, happy blessing, and the family couldn't be more proud!! She was born with such a sweet disposition, and rarely cries! WOW! It's been almost a year now, and we miss her, and of course her Mom and Dad, across the 1900 miles, but were able to spend Christmas with them!


Lots and lots of beautiful ribbon in all shades show off the cover of this book!

The only page/idea I scraplifted was this Love That Baby one...unfortunately, I can't relocate the gallery I got it from, but it was a wonderful idea!


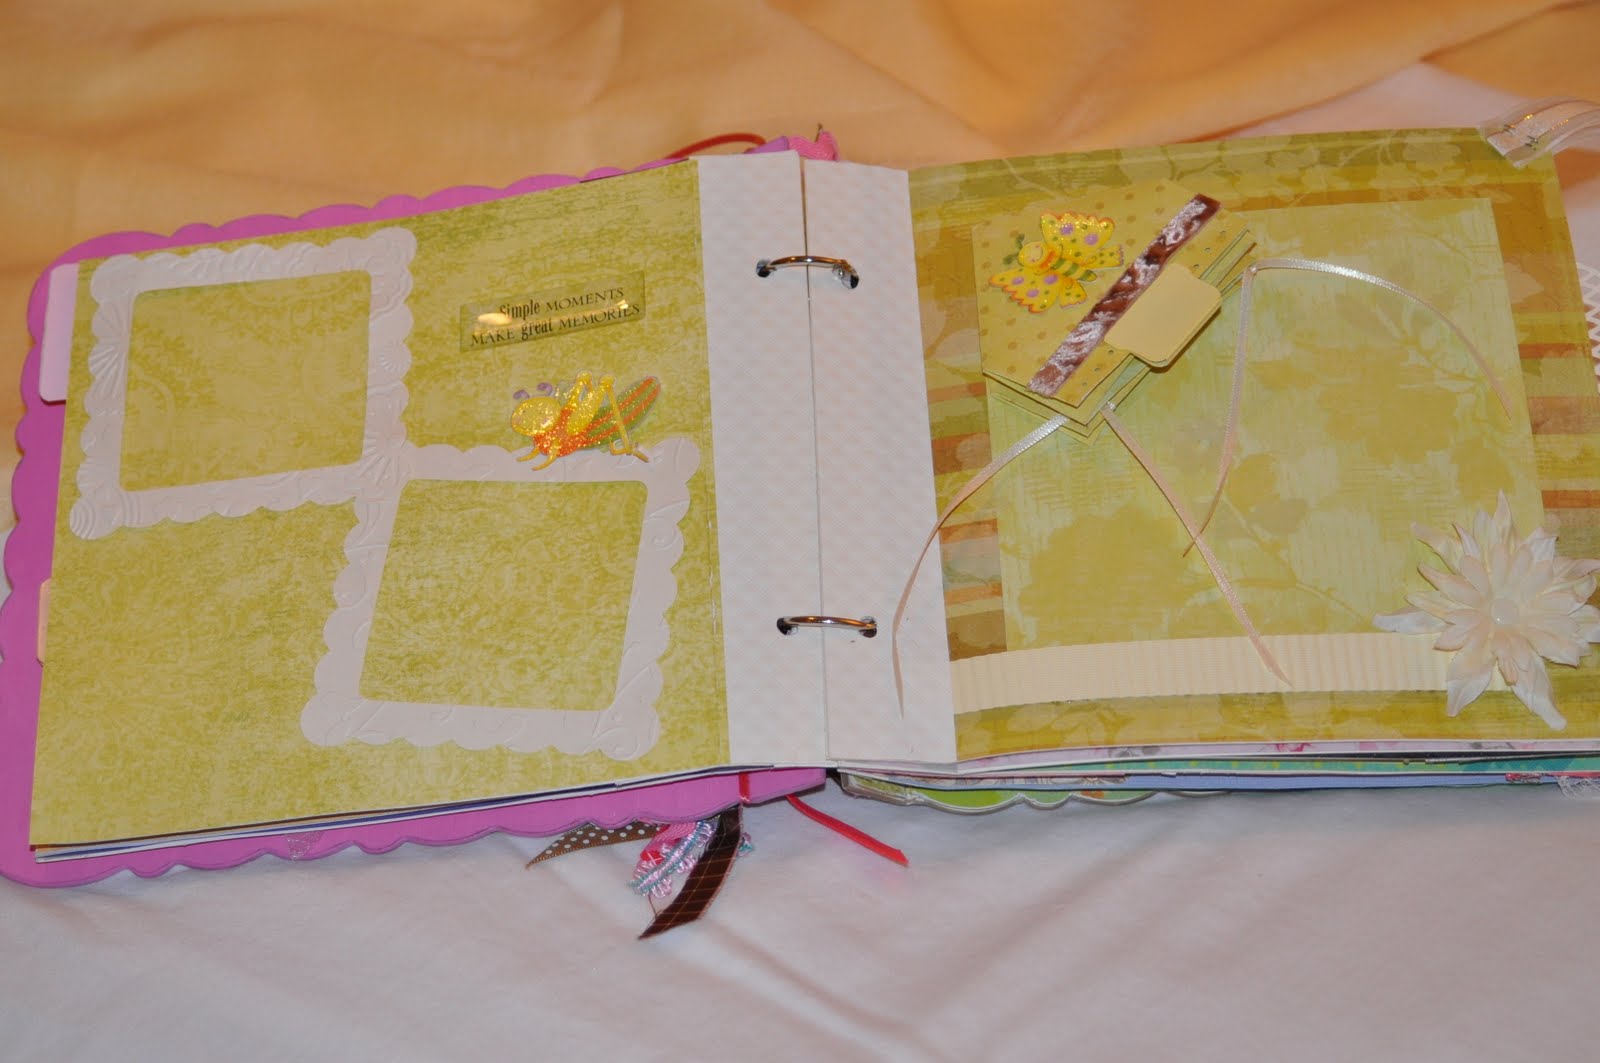


I loved this pinwheel idea, so I made it so it turns, and she can write dates or whatever on the wheel.

These pages include open-up pages that can include as many photos or sayings as she likes. The page below has envelopes with stationery in them to write special or fun moments remembered as she grows.
I used a lot of lace and ribbon on this page especially for Mom!


I used the "Butterfly Kisses" theme on this page for Daddy since that was a song played at the parent's wedding when father danced with the bride (his "baby" girl).


This last page includes some "Brag" tags that can be taken out and taken along to show friends & family - they can include sayings or photos.


On the back cover, I used my sewing machine to zig-zag stich a bunch of paper scraps together, and glue on to board cover. I used paint to finish edges of the book, and sand paper to weather or distress the front and back a little.

Monday, April 12, 2010

Valentines Day Card

I made this card for my great husband! I used the Cuttlebug "Script" embossing folder for the front texture of this card, and layers of card stock - I cut out the hearts manually instead of using a punch to get the size and lengths I needed, and added a metal tag with Robert Browning's "Grow old along with me! The best is yet to be" on front. I did a little bit of shading around heart edge with some ink that matched closely with red coloring.

Birthday Card - Tropical flair

The idea for this card came from Kim MacNutt's gallery a few years back (Thanks Kim - your work is awesome) http://stampingbetweenthedishesandthelaundry.blogspot.com/ I used a palm tree and pineapple stamp and colored in w/markers, and stamped a letter-writing print in background.

Birthday Card


I used embossing on the rose on this card - and tried blending different colors for the background on plain cardstock before stamping.

Christmas Baubles


I made this Christmas card for my mother/father-in-law using Magenta self-adhesive peel off's in gold for the baubles (I also have some of Anita's and Stampendous peel offs I use). I created a pocket in the front of card to insert a tab with first part of verse (pre-printed, bought velum packet of verses), and continued the verse on the inside.

Anniversary Card


This is a card I made for my sister and her husband for their anniversary...it was my learning to use multiple stamps and layers of paper in a collage on front of card. I also made a matching envelope from cardstock and hung a little pic of them by tassle/ribbon wrapped around center of card to dangle from top. The inside included a verse and wishes printed in special font on velum.

New Baby Card

This is a card I made for a co-worker and friend when his wife had their baby boy. Actually, I think it was my first designer card, and I had a blast making it! I don't recall where I got the fold up insert idea from - I think from a library book or magazine a few years back. As you make cards, you're really thinking of the people you are making the card for, what their design style is, what their life-style is like, the personality of each individual, colors that match the situation or person! Each card made especially for that person is an adventure and a trip.